Custom Pleated RV Night ONLY Shade, 32-1/2"-40" Wide, 25"-36" Drop
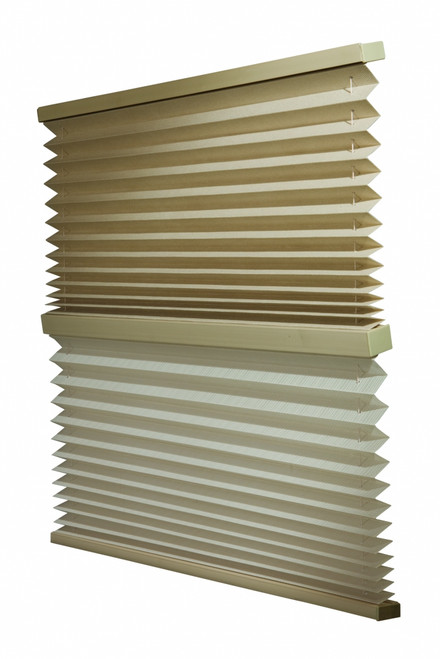
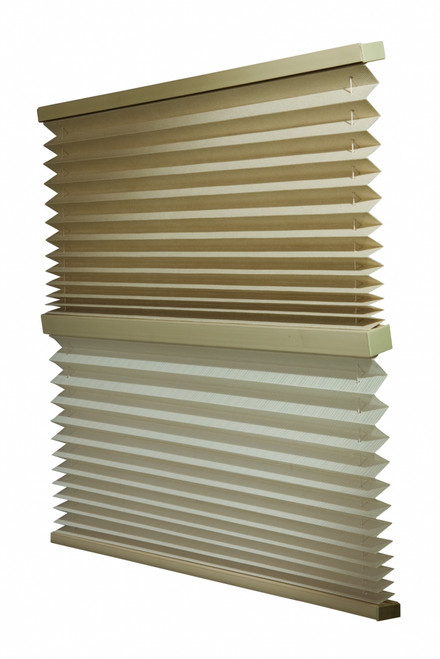
The shade can be set in any position for maximum flexibility.
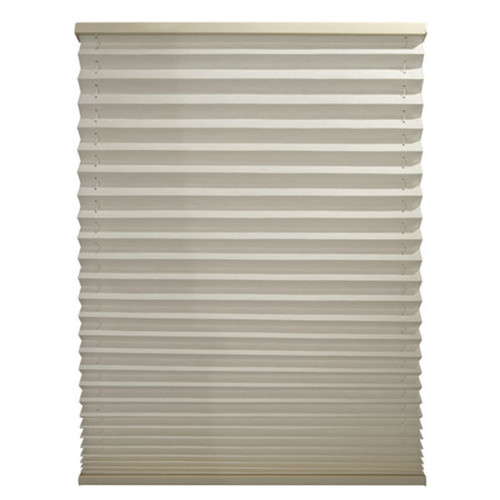
Pleated shades feature permanent, wrinkle-free fabrics and the EZ-Lift adjustment which keeps the blinds in place even during travel.
Night ONLY Shades are an opaque Night fabric which fully obscures the view through the window for nighttime privacy. Three stages of options: fully up, no-shades position, partial down position or night fabric down position.
YOU CHOOSE: 1 of 15 Night Fabrics
Night Fabrics = heavier woven fabric for added opacity, to fully block viewing through window.
Although our standard night fabrics reduce incoming light, they aren’t designed for room darkening to block neighbor’s lights, street lamps or the rising sun. The Laminated Stone Night Fabric has the blackout layer laminated on the fabric as a standard feature and offers the most blackout at no additional charge.
YOU CHOOSE: Pleat Size: 1" or Micro 5/8"
YOU CHOOSE: Cord Style
EZ Lift Style: Cords are permanently attached to bottom corners of windows that reduce noises from shades/blinds banging against the wall during transportation. Shade/blind will easily lift up and down.
Residential Pull Cord Style: Like shades in homes, free-hanging cords are pulled to raise shade, then released at an angle to lock in position.
YOU GIVE YOUR EXACT MEASUREMENTS:
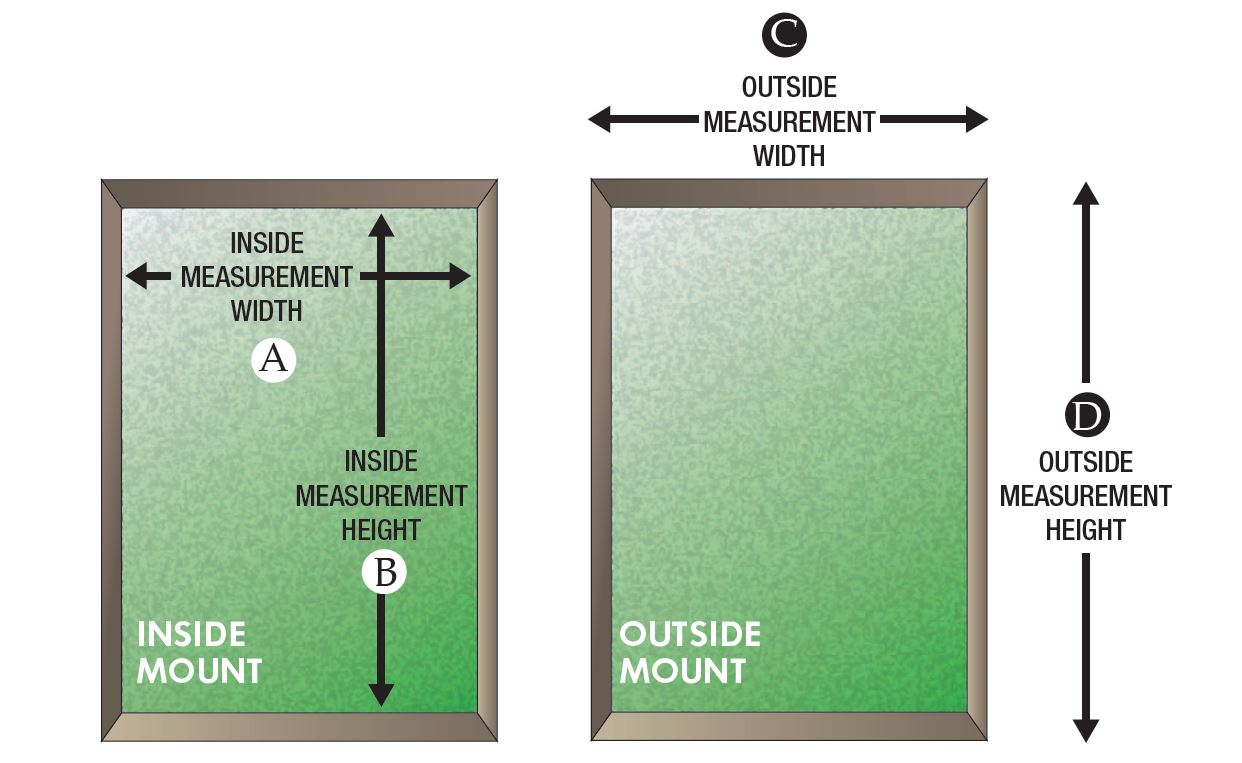
- Determine if the shade or blind will mount outside the window frame onto the wall (Outside Mount) or if the shade or blind will be mounted inside the window frame (Inside Mount).
Note: Most RV windows are Outside Mount. - Outside Mount — Measure the width (across) of the area to be covered. Example: End of frame to end of frame plus 2” added for additional coverage. Inside Mount: Measure the exact opening size. The factory will make any necessary adjustments from your exact measurements to allow for inside clearance and ease of operation.
- Measure the length (drop) of area to be covered. Example: Top of frame to bottom of frame with an additional 2” for mounting above and below window.
United Shade will manufacture exactly the size you order. Take precautions with your measurements so entire window area is covered and allowances are made to assure a custom fit. If draperies or valances are already installed be sure your measurement for width allows the shade or blind to fit under the current window treatment.
Outside Mount Measuring Instructions
Outside mount shades and blinds are installed outside the window casing. The shade or blind will cover an area larger than the window itself.
- Measure the exact width to be covered. Allow enough extra coverage to ensure proper light control and privacy
- Measure the exact height to be covered. Allow for proper coverage.
Outside mount adds 1/2″ overall to shade width due to end caps. Exact = exact measurement with end caps.
Inside Mount Measuring Instructions
Inside mount shades and blinds are installed inside the window casing and are especially used in residential style windows.
- Measure the exact inside width of the window casing from left to right inside edge.
- Measure the exact inside height of the window casing form top to bottom inside edge.
- Do NOT take any deductions. Allowances are made at the factory to ensure fit.
Inside Mount: inside the window frame. Measure the exact opening (inside frame from left to right). Exact Size: measure the area you want covered. If order is inside mount, the factory will take 1/4″ off width to ensure proper fit into window frame.
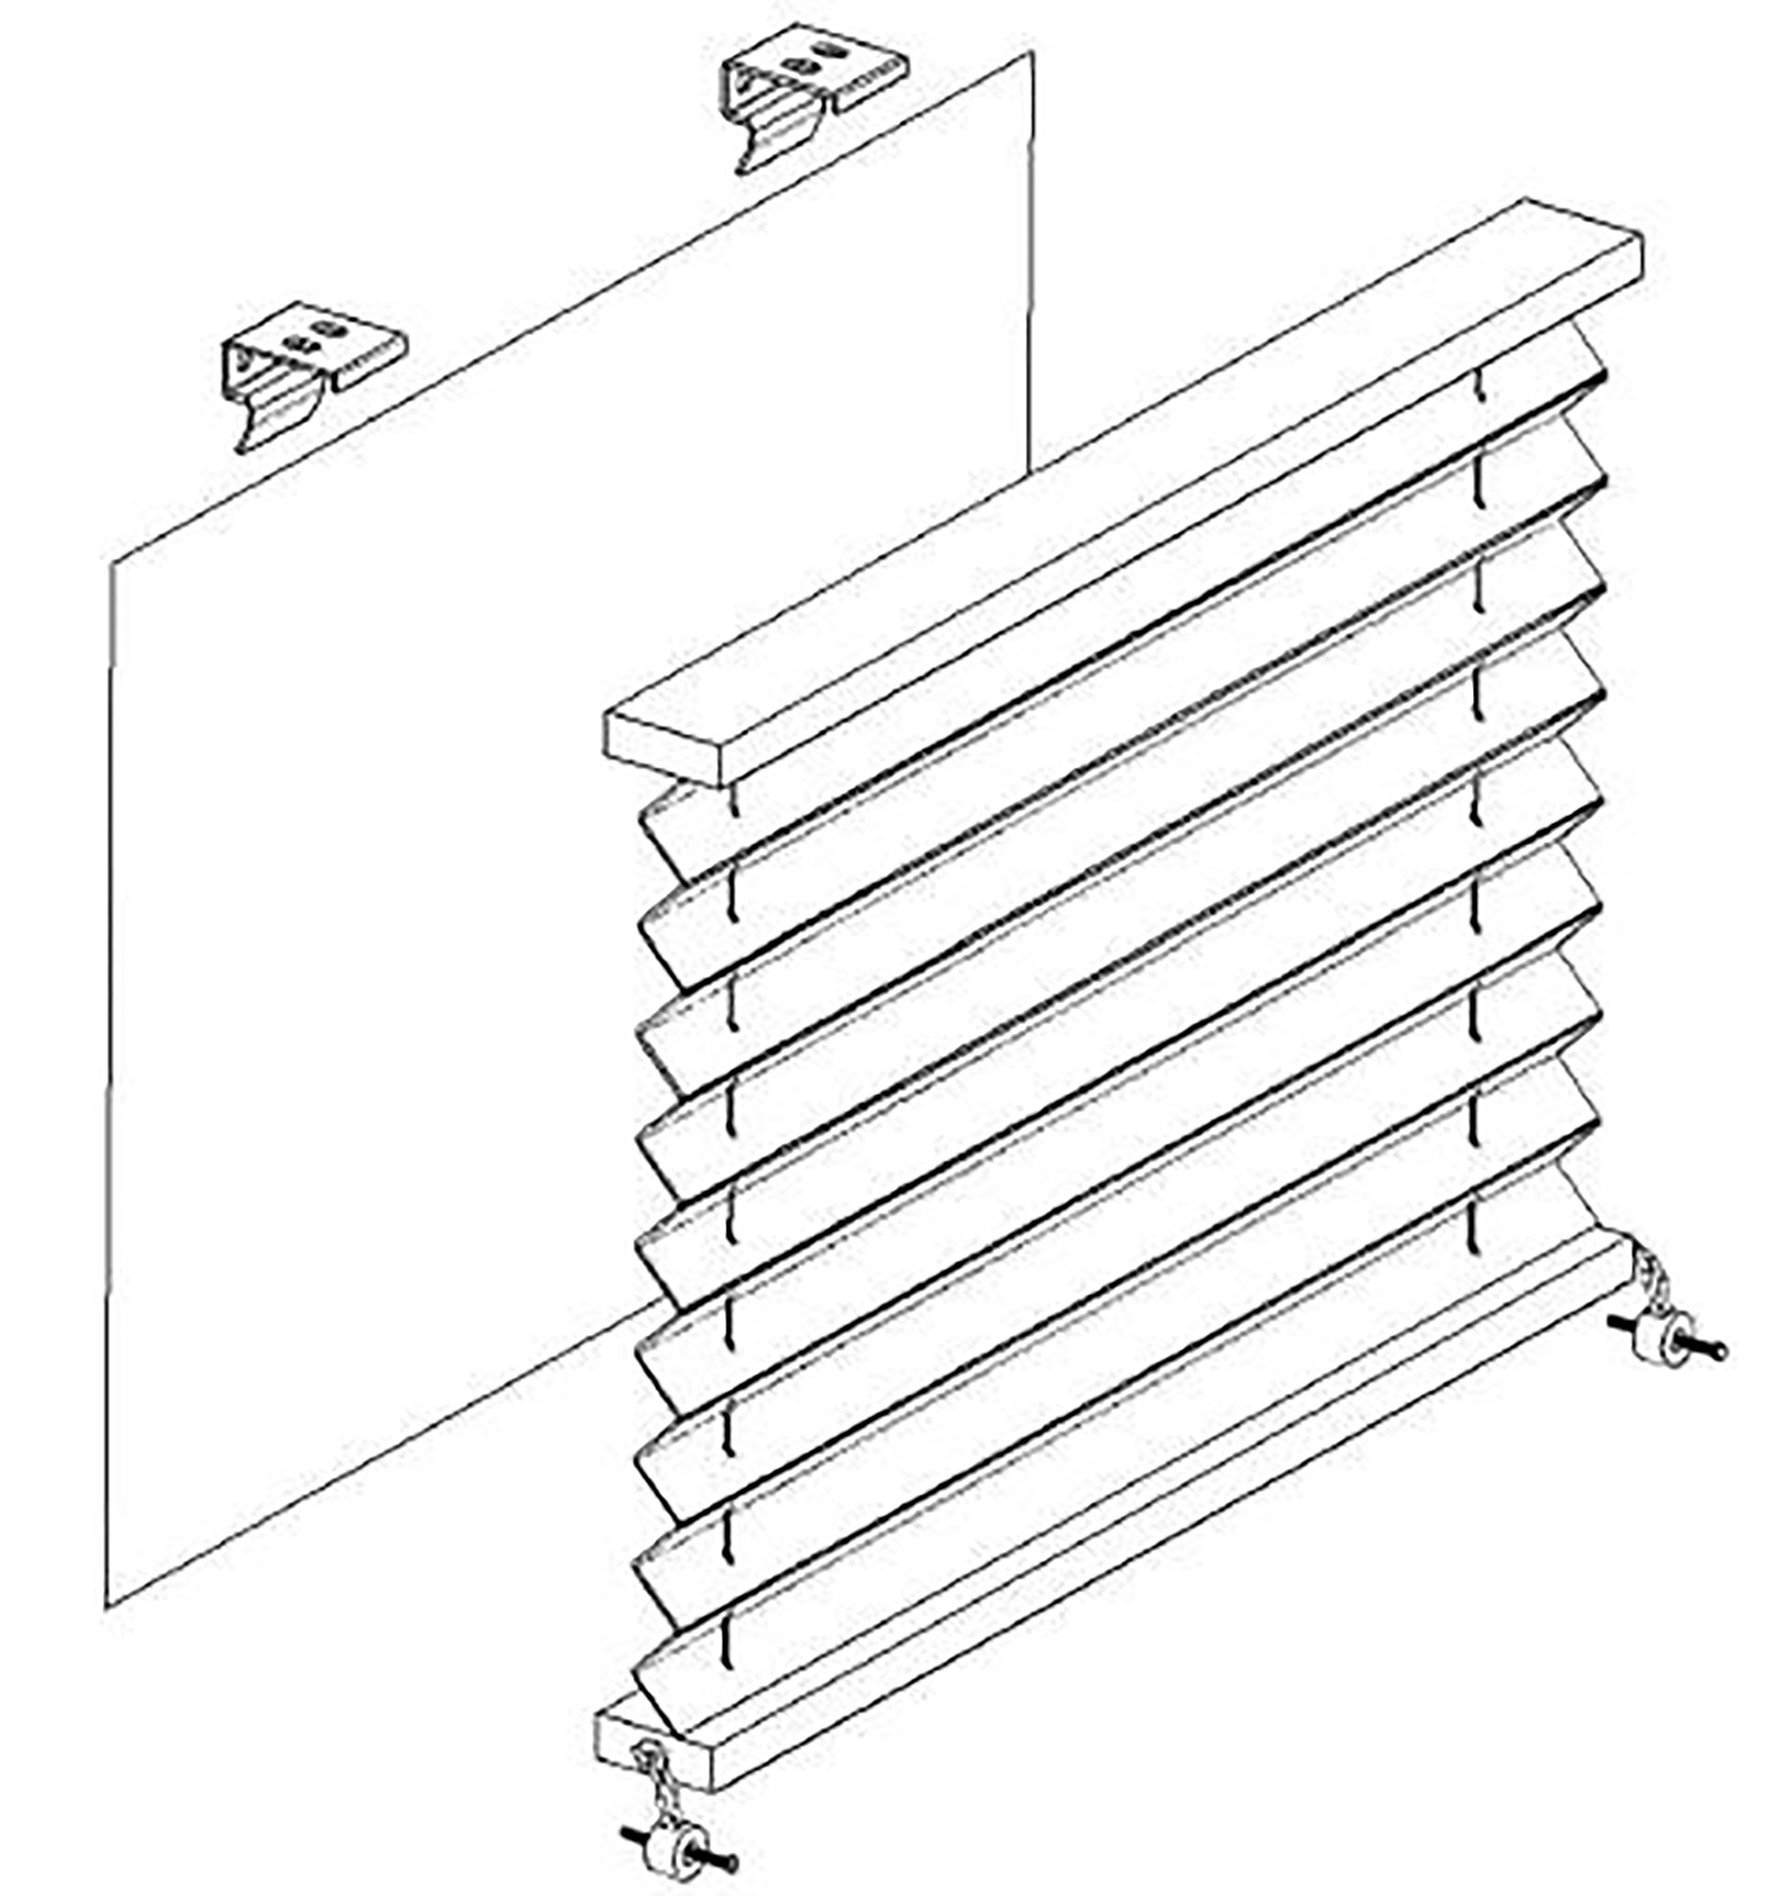
- Install mounting brackets at top of window frame. Mount approximately 3″ in from the corner of the window. If you are using the Quick Install option, no brackets are necessary. Simply places screws directly through top rail into the predetermined holes. On shades 40” or wider use 3 mounting brackets, one in the center.
- Install headrail into mounting brackets by tilting front of the headrail in up position. Slide the hook of the mounting brackets into groove of the headrail. Then, push back of the headrail up until it snaps into the bracket. Quick Install option will skip this step.
- Allow the shade to hang down until the end of the cord retainer meets the bottom of the rail.
Place the screw through the cord retainer and mount it directly below the bottom rail about ½” below the rail. This will create the proper tension to needed to properly operate the shade. The tension should be tight. - If needed, adjust the tension by pulling on the cord string and re-tie the cord retainer.
Care Instructions:
Shades should be kept in the closed or up position when not in use, to maintain pleat retention and minimize dirt and soil build-up. Do not store shades in the down position. This may cause some loss of pleat retention if the shades are not operated on a consistent basis.
Shades can be easily cared for by simply dusting or using a vacuum cleaner attachment. Do not use spot remover, household cleaners or detergents to remove soiled spots, as these may cause damage to fabric or loss of color from fading.
NOTE: If your recreational vehicle must be stored for an extended period of time, store shades in the up position and cover your windows with additional protection (I.E. Cut out cardboard).
Warranty: 1-year. See details at https://unitedshade.com/product/pleated-shades/#warranty.


